()
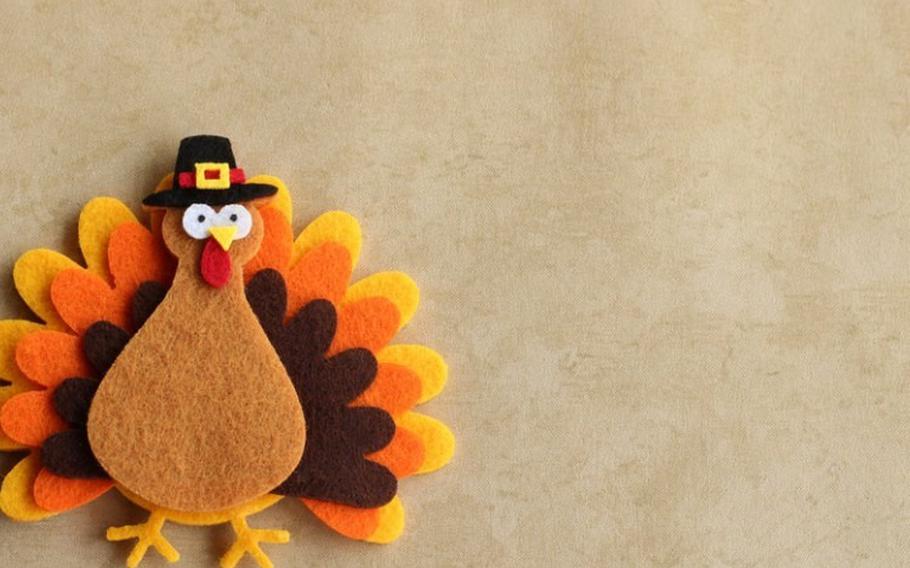
With Thanksgiving on the horizon, keep things festive by doing holiday activities with the family you are blessed to have with you in your home. What better way to celebrate Thanksgiving than to make a turkey? Of course, these turkeys can’t be eaten, but they are a cute way to celebrate with your kids. Check out these five turkey crafts.
Cardboard Thankful Turkey Craft
Create a turkey with feathers that display all the things for which you are thankful.
Supplies:
Template (see below)
Cardboard (the inside of cereal or cracker boxes work well)
Colored cardstock (red, orange, yellow and green)
Scissors
Glue
Googly eyes
Colored cardstock
Directions:
The first and most important step is to download the free turkey template below. Print it out on white cardstock so that it will be sturdy. Cut each piece of the template out and set them aside.
Trace the body of the turkey onto cardboard and cut it out.
Using a bunch of fall-colored cardstock, trace the feathers onto the different colors. Cut out the feathers and glue eight of them onto the back of each turkey body.
Trace the wattle, beak, and two feet onto colored cardstock and cut them each out.
Carefully glue the beak and wattle to the turkey’s face along with two googly eyes. Finally, glue the two feet to the bottom of the back of the turkey so they look like they are peeking out from underneath the fat turkey breast.
Write the names of people, objects, and ideas that they are thankful for on the turkey’s feathers.
Coffee Filter Turkeys Thanksgiving Craft for Kids
Turn an everyday coffee filter into colorful turkey tail feathers.
Supplies:
Wooden spring clothespins
Round white coffee filters
Assorted googly eyes
Washable markers – brown, red, orange and yellow
Glue gun and glue sticks or a liquid glue with fine tip applicator
Brown acrylic craft paint
Red and yellow craft foam
Paintbrush
Scissors
Pencil
Scrap of cardboard
Non-Stick craft Mat or large plastic zip-top bag
Water spray bottle
Directions:
Start by flattening out round coffee filters. Draw on them with red, yellow, and orange washable markers in a variety of patterns. Place colored coffee filter on a craft mat or zipper bag and spray with water. Have fun watching the magic of the colors move and blend! Set aside to dry.
Use a scrap of cardboard to clip the clothespins onto for easier painting. Paint all sides of the clothespin with brown craft paint and a paintbrush. Set aside to dry.
Glue on the wiggly googly eyes. You can use a low temp hot glue gun or a tacky craft glue.
Now it’s time to decorate the turkey’s face! Cut out a triangle beak from yellow craft foam and a squiggly waddle from the red craft foam with scissors. Glue the beak and wattle (aka gobbler) below the eyes.
Fold the dry coffee filters in half and crinkle slightly to fluff them. Insert coffee filter into top clip of clothespin to be the turkey’s feathers. You can insert the dyed coffee filter as is or cut a scalloped edge to give the feathers more definition.
Start with a pile of popsicle sticks and end with an adorable turkey.
Supplies:
Popsicle craft sticks (We used 7 to make our turkey craft)
Small craft sticks (We used 2)
Brown Paint
Googly eyes
Orange pipe cleaner
Colored paper
Glue gun
School glue
Directions:
Lay out seven popsicle sticks. Using a glue gun, glue two smaller mini craft sticks to the seven popsicle sticks to hold them together. This is the body of your turkey. Paint the popsicle sticks brown.
Cut two pieces of orange pipe cleaner and glue to the back of the popsicle sticks so that they stick down for the turkey legs. Bend the pipe cleaners at the end to form feet.
Cut feathers from construction paper or card stock and glue to the back of the popsicle sticks, so that they stick out over the top.
Glue two googly eyes to the front of the turkey and beak cut from orange paper and a gobbler/wattle cut from red paper.
Transform something from your yard into a fun little turkey.
Supplies:
Pinecones - if you’ve got pine trees growing near your house, first of all – you’re lucky! your pinecones are free! Secondly, you will undoubtedly have a lot to choose from, so choose the biggest and best for this craft. If you're like me and have zero access to pinecones falling off the tree, you’re going to have to buy them, so look for big, beautiful, unbroken pinecones. You can find them at craft stores in mesh bags…usually scented, which is just an added bonus!
Paint - orange, red and yellow
Paint brushes - small
Pom poms - you’ll need little – medium size pom poms for the turkey’s face.
Googly eyes
Scraps of felt in both orange and red – orange for the beak and red for the waddle.
Glue
Directions:
The first thing you need to do is start painting the pinecone scales. I started with yellow, then red and finished with orange. I left some of the scales natural because I thought the brown color looked so great with the red, yellow and orange colors. When you’re painting the scales you want to make sure you are spreading each color around and not bunching all the reds in one area, etc. You need to try to disperse each color throughout. Also, you will probably find that you need to do 2 coats of paint. After you do the first coat for each color you should then be able to do the second coat almost right away – the paint dries relatively quickly.
Now you need to make the turkey faces by gluing on two googly eyes. Next, you’ll need to cut out a small triangle from your orange felt, and a waddle from your red felt. I just freehanded the waddle – a rounded shape at the bottom with a thinner pointed shape at the top.
There is a piece of pinecone that sticks out of the very top/front of the pinecone and you’ll need to carefully cut that off, and potentially a few scales as well, in order to nestle the turkey face at the front of the pinecone. Add some glue to the back of the pom pom and hold it in place until it dries.
Turkey Headband Thanksgiving Craft
Take your craft to the next level by making it wearable.
Supplies:
Turkey headband template
Brown kraft cardstock
Construction paper
Large googly eyes
Red balloon
Stapler
Scissors
Glue
Directions:
Begin by downloading the turkey headband template. Print the template out on brown kraft cardstock. There is an additional page of the template with rectangle pieces for the feathers. This page is optional for use. We cut out our own feathers from construction paper.
Cut out the two pieces of the turkey headband template.
Fold a piece of yellow construction paper or cardstock in half. Cut out a triangle shape along the fold. You end up with a folded diamond shape to use as a turkey beak. Glue the beak down onto the circle face of the turkey head.
Grab your red balloon. Depending on how large your balloon is, you might need to trim some of the end off of it so it doesn’t hang down too far off the headband. Use a glue stick or tacky glue to glue the balloon next to the turkey beak.
Glue your large googly eyes onto your turkey headband.
Use a stapler to staple the back of the turkey headband piece to the front of the headband piece. For younger children, you may want to double-check for sizing before adding the final staples.
Cut out strips of construction paper 1-inch x 9-inch. We used 8 strips per headband. Fold the paper strips around the back of the headband and staple them in place.
There are so many ways to make a turkey craft! Whether you want to paint, use paper or even incorporate some items from around the yard, you’re sure to make the cutest little turkeys this holiday season.